
Computers have short-term and long-term memory to increase performance. Long-term memory saves essential data for the long haul.
RAM or random access memory is your computer’s short-term memory that accesses data quicker for better processing time.
The allotted RAM on your computer determines how well it functions. Most people are familiar with those memories, but have you heard of VRAM?
Video random access memory or VRAM promotes faster graphics uploads on your computer. If it’s low, glitches start to interrupt your videos or computer games.
Thankfully, there are ways to increase VRAM. Please sit back and relax as we take you on a tour of how to increase VRAM for better computer graphics.
VRAM Explained
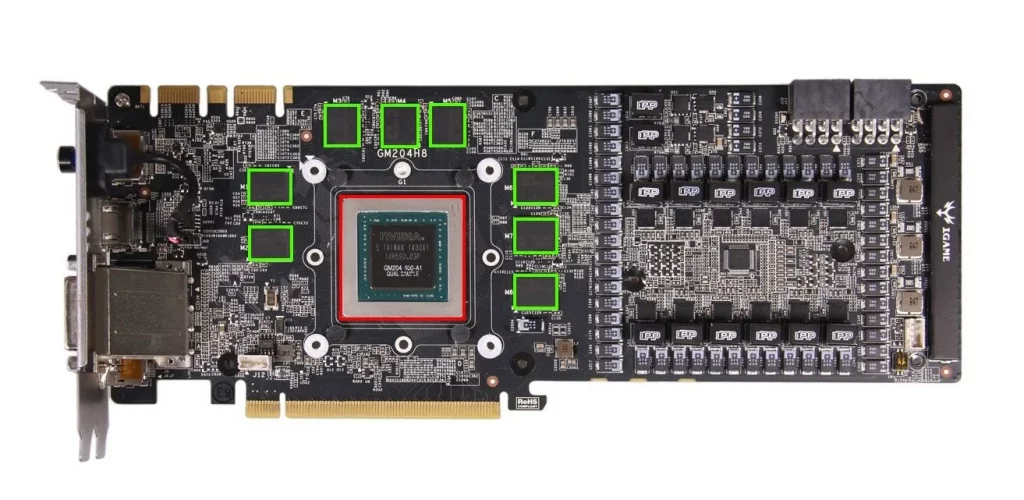
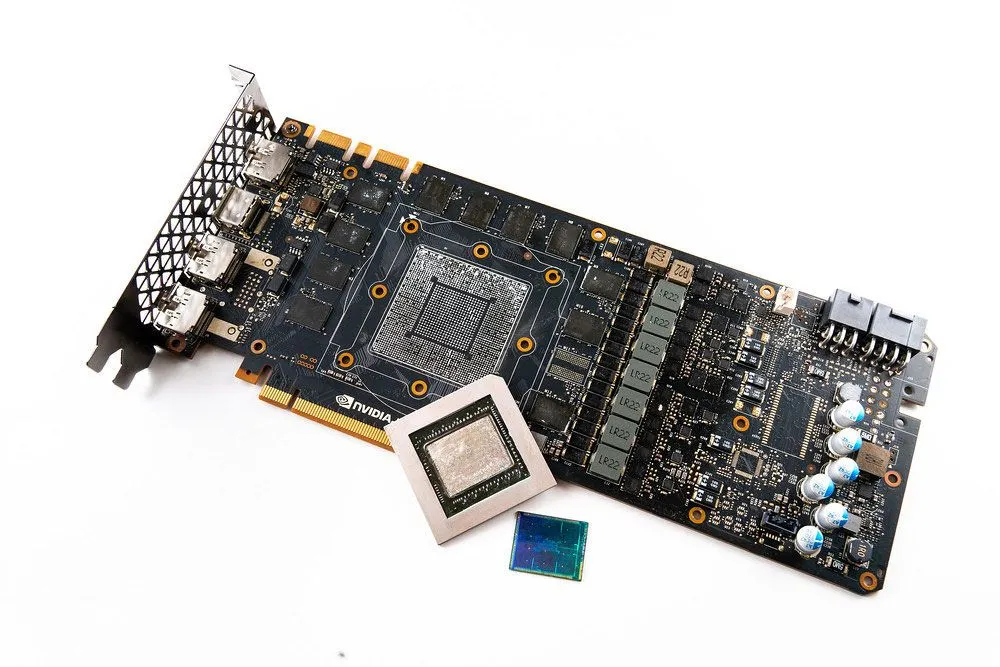
VRAM is additional RAM in your computer next to the graphics processing unit (GPU). This video RAM works with the GPU allowing videos and graphics to display more efficiently and with better quality.
When your CPU reads an image, the information is collected and sent to the VRAM for storage. It stores all of the pixels from the graphics card to be displayed rather than just information like regular RAM. Once the VRAM is stored, the digital-to-analog converter reads it and sends a signal to your CPU to display the image. VRAM works as a meditator, while your computer works to display the image.
Without enough VRAM, glitches, freezes, and poorly displayed graphics linger. People like video editors, gamers, and 3D users notice the significance of VRAM the most. With dedicated video memory to store essential images, frustrations like glitches are forgotten.
An increase in dedicated video RAM helps keep your videos running smoothly. Remember that video RAM won’t necessarily make your computer run better. It needs to have sufficient RAM before video RAM improves graphics. High-end video games and 3D graphics require significant RAM with dedicated video memory.
Also Read: Best x570 Motherboard
Increasing Video RAM
Since video RAM is physically a part of your computer, located next to the GPU, increasing it is tricky. You need to change your GPU to increase video RAM physically.
Don’t get discouraged because there are ways to ensure the dedicated video RAM in your GPU is used more efficiently. Actively updating video and graphics settings within your CPU is one way to increase how much VRAM your computer is utilizing. Before increasing your VRAM, it’s vital to see how much VRAM your computer has. Here’s how to check on Windows 10.
- Go to Settings, click on Systems, and hit Display.
- Find Advanced Display Settings and click.
- Next, find Display Adapter Properties and click on the link.
- A dialogue screen will pop up. Toggle to the Adapter tab and find the Dedicated Video Memory, your computer’s available video RAM.
MAC users should follow the guide below to determine how much VRAM their computer has.
- Navigate to the Systems Information panel.
- Click on Hardware and then Graphics/Display.
- The amount of VRAM will be listed there.
Once you know how much VRAM your computer has, you can increase dedicated video RAM via the options we list below.
Increase VRAM with BIOS
BIOS, or Basic Input/Output System, is responsible for booting your computer. By enhancing some settings within BIOS, you can update how much VRAM your computer utilizes. While not all computer manufacturers allow you to change the motherboard, some do. You can find your BIOS settings by Googling your computer’s manufacturer.
- To begin, restart your computer and enter the BIOS settings you found via Google while the computer is starting.
- If you don’t have the BIOS settings, try repeatedly hitting the F2, F5, F8, or DEL keys during the restart.
- Once the BIOS menu pulls up, navigate to Video Settings, Graphics Settings, or VGA Memory Size and click. The name will change depending on your computer.
- Here you can change your pre-allocated video RAM to what you need for better video performance.
- After you change the VRAM, restart your computer again after you save the changes.
- Navigate back to your VRAM via our instructions on how much VRAM your computer has, and you should note the increase.
Increase VRAM with Registry Editor
Registry editor is a graphics tool in Microsoft Windows. It offers a display administrators can change by devoting a computer’s untouched memory to the graphics card to pretend to increase the VRAM on the system. Keep in mind this may cause other issues with your computer. If you notice problems after doing this, changing it back to the prior settings is best.
- Open the Run menu and type “Regedit” and click OK.
- Choose HKEY_LOCAL_MACHINE and open the dropdown menu.
- Click on Software.
- Choose the Intel Folder and right-click in the white space.
- Place your cursor over New and select Key.
- You have created a new folder under the Intel Folder called “New Key +1.”
- Rename the new folder “GMM.”
- Right-click within the GMM folder in the white space and place your cursor over New. Select DWORD 32-bit value, creating New Value #1.
- Rename New Value #1 to DedicatedSegmentSize.
- Next, right-click on DedicatedSegmentSize and select Modify.
- A window will appear called Edit DWORD 32-bit Value.
- Choose Base as Hexadecimal.
- Choose the VRAM according to the recommendations based on your computer’s RAM.
- Once completed, save and restart your computer. Check the VRAM to ensure it is updated to your specifications.
Upgrade to a Dedicated Graphics Card
In the end, sometimes an upgrade is necessary. You can get a dedicated graphics card if you don’t want to overhaul your GPU completely. While they can be pricey, they offer more VRAM for gamers and video editing. The other options we mentioned are free but may only sometimes work depending on your computer’s manufacturer. A dedicated graphics card with enough computer RAM will definitely up the ante on your images.
Also Read: How To Reset GPU
VRAM Complete
Now that you understand the inner workings of VRAM, it’s time to upgrade your computer for better graphics without glitches, freezes, or blurriness. Try one of the suggested methods for less frustration and more fun, especially if you are an avid gamer.